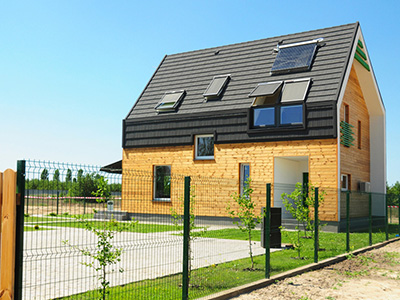
No two houses are the same. Sometimes you find the almost-perfect house if only it had that one more thing you wanted. And there are times when you settle with that almost-perfect house because that one thing you wanted it to have is something you can do or add on your own. Like building a garage or a carport to keep your vehicles safe from natural elements.
Between a garage and a carport, the latter is a better option when you want your vehicles safe but free to breathe. A garage is an enclosed structure, whereas a carport is only a roof on beams and occasionally has two walls on the side. Plus, it’s a much easier and cheaper project to take on your own than building an entire garage.
To build a structure as big as a carport, you’ll have to understand that it will take some time and effort to do, but the outcome can be gratifying. If you have no idea where to begin this project, you can follow these four easy steps as a guide to making your DIY carport:
#1 Do Some Research
It’s important to have some background knowledge on building structures and construction, but lucky for you, there are so many resources available online that are waiting to be discovered. Familiarize yourself with construction basics, from establishing a foundation to the kinds of materials to be used.
Most carports are built with a wooden or metal foundation. Still, there are other options that you can use depending on the availability of materials in your location and the budget you’re willing to spend. As for the shelter, you can opt to use corrugated roofing sheets that are made of sturdy materials so that you’ll know your vehicles can be protected from rain, snow, or heat.
#2 Prep the Groundwork
It’s time to go digging! But before you dig up holes for your carport’s beams, you first have to measure the size of your vehicles to the size of your structure. For good measure, it will be better to leave some room for allowance instead of having a carport that is too small for your car. You might also need to level your land first so that your structure isn’t leaning to one side later on.
After you’re done with measuring, you can now begin to dig holes that are big and deep enough to support your structure. You’ll have to adjust your materials depending on your carport’s size, so make sure not to get the measurements wrong. The deeper your beams are on the ground, the sturdier your structure can be, but be careful not to go so deep that your car could no longer fit in the carport.
#3 Build Your Carport

Finally, you’re going to start building. First, start with the beams, then the roof, and then the walls. At every step, try to test out your foundations for strength and security, as well as resistance to strong winds or heavy rain. Spread out your building schedule over a few days or weeks so that your cement can dry properly before you go ahead and attach the rooftop or the walls.
Next, attach rafters to your beams for better support, and then put your roof in place. This is the most important part of the carport, so be sure to attach, fasten, and secure all bolts to their according places. The roof will act as the main protective shield to your vehicles. That’s why it is vital to have good roofing material.
Creating the two side walls will be easy now that you’re finished with the beams and roof. All that’s left to do is attach plywood or sheet metal to your beams and make sure that they are waterproof and sturdy.
#4 Test Run and the Finish Line
After finishing your carport, you have to test its overall stability. You can apply some weight to the beams, walls, and even the roof to ensure that it is resistant to natural elements and unforeseeable circumstances. Check every nook and cranny for possible misalignment or loose bolts, and reinforce them accordingly.
Once you’re confident in your work, you can now apply the finishing touches such as sanding the wood, painting or designing the whole carport, and waterproofing parts that are not water-resistant on their own. Do whatever you think can help your structure’s longevity and lessen the natural wear and tear of materials.
After the fourth step, most people would no longer continue, but there is a fifth step to building a carport, and it is the secret to its long life — proper maintenance. Any establishment or structure needs to be properly maintained so that its original beauty can be retained. A good and responsible builder should at least know that.